LAMPPIX is a Linux-based LiveCD.
The big version is intended for HD installation or just to have a XFCE4 desktop with most of a web developer's tools as well as a web server. The Mini CD has no real desktop at all. Only necessary tools are installed. While booting it starts the web server, Fluxbox and Mozilla Firefox (Kiosk mode). Nothing more. You can include your own pages just as in the desktop version of LAMPPIX.
How can I include my own web pages?
Step 1: your web server's document root
- Pack all your documents into the tarball htdocs.tar.gz, i.e.:
# tar czf htdocs.tar.gz /var/www/htdocs/*
Step 2a: MySQL databases (optional)
- Export your web server's databases as MySQL dumps. To do this, you could use a program such as mysqldump or PHPMyAdmin. Save the dump, following the scheme: name_of_the_database.sql
# mysqldump datenbank > database.sql
- pack all MySQL dumps into the tarball mysql-dumps.tar.gz
# tar czf mysql-dumps.tar.gz *.sql
Step 2b: PostgreSQL databases (optional)
- Export PostgreSQL databases as dumps. Use pg_dump therefore or some similar tool. Save the dumps into a tarball called postgresql-dumps.tar.gz.
Step 3: write a shell script (optional)
- Write a shell script and name it postinstall.sh
- This script is run after the databases and the web server's content were
installed.
- the document root directory is /opt/lampp/htdocs.
- This function is useful to set the access permission of your files or do
other actions during the boot procedure.
Step 4:
- Copy the files htdocs.tar.gz, mysql-dumps.tar.gz, postgresql-dumps.tar.gz and postinstall.sh into
the directory 'www' of your CD-ROM. There are two ways to reach this.
First way: Burn the ISO as multisession CD. Then add your own files through
a new session.
Second way: Include your own files directly into the ISO file. This is a bit
harder.
These are the steps under GNU/Linux (as user root):
1. create two temporary directories
# mkdir master source
2. mount the ISO file
# mount -o loop lamppix-mini.iso source
3. copy all of its contents into the 'master' directory
# cp -a source/* master/
4. unmount the ISO
# umount source
5. copy your files into the master directory
# cp htdocs.tar.gz mysql-dumps.tar.gz postinstall.sh master/www/
6. create the ISO
# mkisofs -V "LAMPPIX-Mini" -r -J -b isolinux/isolinux.bin -c isolinux/boot.cat -no-emul-boot -boot-load-size 4 -boot-info-table -o lamppix-mini-own.iso master
7. remove the two temporary directories
# rm -Rf master source
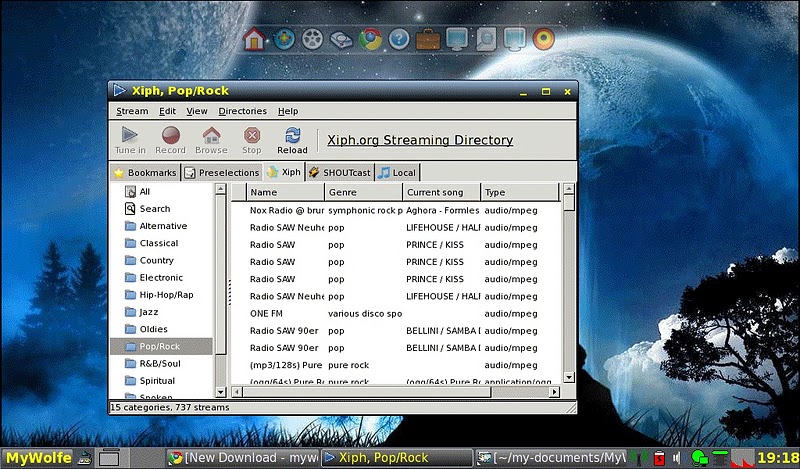
Software Screenshot:
Software Details:
Version: 1.1
Upload Date: 3 Jun 15
Developer: LAMPPIX team
Distribution Type: Freeware
Downloads: 24
Comments not found