The following tutorial will teach Ubuntu users how to install GNOME themes and icons in the Ubuntu 11.10 (Oneiric Ocelot) operating system.
A lot of Ubuntu users requested this guide, because the new Ubuntu 11.10 operating system doesn't provide a tool to add new GTK or icon themes. Why? Because of the GNOME 3 desktop environment and the complexity of GTK3 themes.
So, let's say you saw that wonderful desktop theme out there on the Internet, and you want it on your brand-new Ubuntu machine, right? What do you do?
Look no further, as the following tutorial will offer you the easiest method to add desktop themes on Ubuntu 11.10. Believe us, this is the easiest way to add these theme on your Ubuntu operating system.
You can use this guide to also add icon themes or fonts, just replace the ~/.themes folder with ~/.icons or ~/.fonts.
What do you need to get started? The GNOME Tweak Tool and a GTK3 theme, of course. So make sure you install the app by clicking the link below and grab your favorite GTK theme from our up-to-date Desktop Themes section, and follow the instructions below.
Install GNOME Tweak Tool
Now that GNOME Tweak Tool is installed, open your home folder and hit the CTRL+H key combination on you keyboard to see the hidden files and folders.
1. Right click on an empty area on the home folder and choose the "Create New Folder" option. Rename the folder as .themes (yes, with the dot in front of the name, as the folder will be hidden).
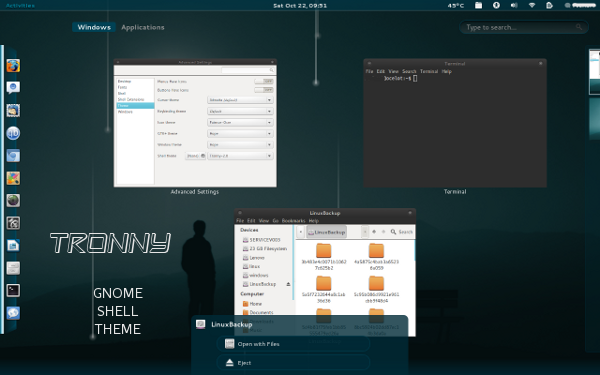
2. Enter that .themes folder and extract there the desired themes. As you can see from the image below, we've added two themes (Sammy and Zukitwo) in the .themes folder, each one with three different versions.
3. Now, click the Ubuntu logo from the Unity panel and search for Ubuntu Tweak Tool, which is actually called Advanced Settings. Click the shortcut and it will open.
4. Go to the "Theme" entry on the left side pane, and select one of the themes you've just extract from the "GTK+ theme" and the "Window theme" drop-down boxes.
That's it! The selected theme will be applied instantly and you can close the GNOME Tweak Tool. However, you must log out and log back in for the window (Metacity) theme to be applied too.
If you have problems with the tutorial, do not hesitate to comment below!
Editor's note: BE AWARE that root applications (the ones that ask for your password) will not be styled with this method. If you want to apply the theme on the entire system, you should extract the themes in the /usr/share/themes folder. To do that, you must use a terminal as root.
Software Screenshot:
Comments not found